Ultimate Tips for Making Freeze Dry Candy at Home?
Freeze Dry Candy has gained popularity for its unique texture and intense flavor. This process reduces moisture in candy, creating a light and crunchy treat. Imagine biting into a sweet that's both airy and flavorful.
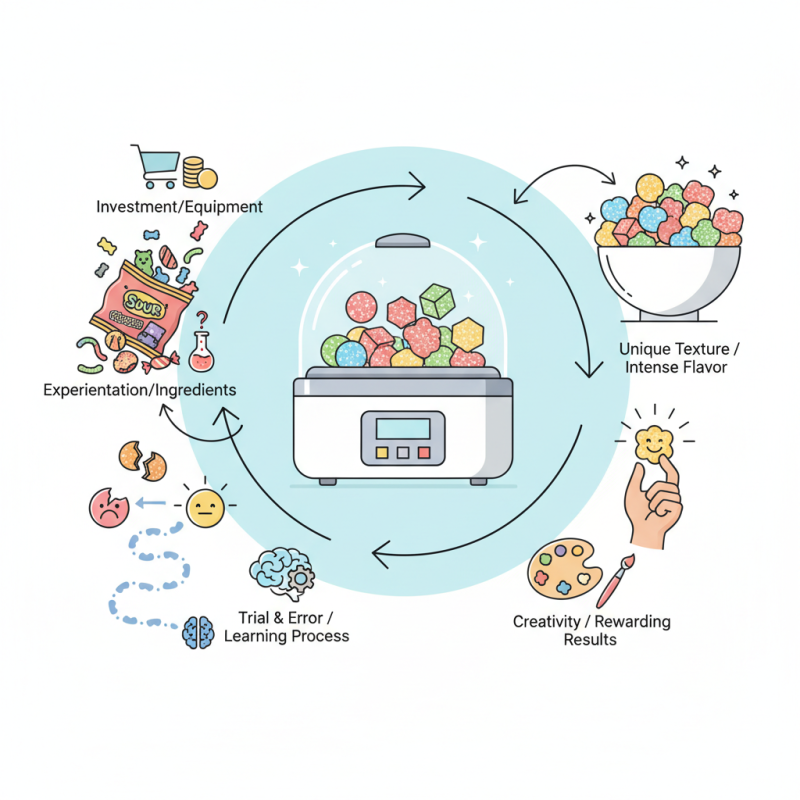
Creating freeze dry candy at home can be rewarding, yet it can also be challenging. The equipment required may seem daunting. You'll need a freeze dryer, which can be quite an investment. But the results can be delightful. Experimenting with different types of candy can lead to surprising combinations.
As you embark on this candy-making journey, be prepared for trial and error. Some batches may not turn out as expected. This can be frustrating, but it is part of the learning process. Embrace these moments; they can teach valuable lessons. Enjoy the process of making freeze dry candy, and let your creativity shine through.
What is Freeze Drying and How Does It Work for Candy?
Freeze drying is a fascinating process. It removes moisture from food, making it light and durable. For candy, this means enhanced flavors and a unique texture. The method involves freezing the candy, then creating a vacuum. Under these conditions, ice transforms directly into vapor. This step is crucial as it preserves taste and nutrients.
During freeze drying, not all candies respond the same way. Some might lose their shape or become too fragile. It requires experimentation to find the right temperature and time. Hard candies often hold up well, while gummies can turn mushy. You may end up with unexpected results that need adjustments.
Using a freeze dryer at home can be challenging. It’s important to monitor the process closely. Many beginner and experienced users find themselves making mistakes. Something may not dry completely. Be patient, and don’t rush. Each attempt teaches valuable lessons that can lead to sweeter successes in the future.
Ultimate Tips for Making Freeze Dry Candy at Home
| Candy Type | Preparation Time (Hours) | Freeze Drying Time (Hours) | Flavor Profile | Best Texture |
|---|---|---|---|---|
| Fruit Chews | 2 | 24 | Sweet, Fruity | Crispy |
| Gummy Bears | 1 | 20 | Sweet, Chewy | Crunchy |
| Chocolate Covered Fruits | 3 | 30 | Rich, Fruity | Crunchy |
| Marshmallows | 2 | 12 | Sweet, Light | Fluffy |
Essential Equipment Needed for Homemade Freeze Drying
When embarking on the journey of homemade freeze-dried candy, having the right equipment is essential. Start with a reliable home freeze dryer. This device is key for removing moisture while preserving flavor. Ensure your freeze dryer is in good condition. A well-maintained machine works more efficiently.
You’ll also need vacuum-sealed bags. These are useful for storing your finished candy. They keep your treats fresh and prevent moisture from seeping in. A food scale helps measure ingredients accurately. This ensures that each batch is consistent. Consider using silicone molds for fun shapes. They add a personal touch to your creations.
Tips for success include using ripe fruits for better flavor. Experiment with different sugar levels for sweetness. Don't hesitate if your first batch doesn’t turn out perfect. It may take time to master the process. Adjust temperature settings as needed. Sometimes, less moisture is required. Keep notes on what works and what doesn’t. This reflection will improve future attempts. Enjoy the process!
Step-by-Step Guide to Preparing Candy for Freeze Drying
Making freeze-dried candy at home can be a fun and rewarding process. Start by choosing the right candies. Soft candies work best, like gummies or marshmallows. These treat types have high moisture content, enabling better freeze-drying. According to industry reports, freeze-dried candy retains about 97% of its nutrients. This preservation makes it an appealing option for healthier snacks.
Before freeze-drying, preparation is key. Cut larger candies into smaller pieces. This step allows for even drying. Lay the candies on the freeze-drying trays without overlapping. Ensure that air can circulate between them. This will improve the drying process. It’s common to encounter issues like uneven drying or sticking. Adjusting candy sizes or the tray layout can help mitigate these problems.
Monitor the drying process closely. Aim for a dryness level where the candy becomes crisp. This can take several hours. Don't rush it. The right texture is crucial. Once done, store the freeze-dried candy in airtight containers. Keep it away from moisture to maintain quality. Observing these details allows for better outcomes, making the candy enjoyable longer.
Best Types of Candies Suitable for Freeze Drying at Home
When it comes to freeze drying candy at home, not all types are created equal. Some candies work better than others. For example, gummy candies are popular choices. Their chewy texture transforms into a delightful crunch. However, the process can sometimes make them too brittle. Be ready for some trial and error.
Another excellent option is marshmallows. They expand during freeze drying, creating a light and airy treat. They can be eaten straight or added to snacks. Chocolate-covered candies can also be experimented with, but they may melt. This can make the process messy.
Fruits are also great for freeze drying. Slices of bananas, strawberries, or apples become crispy snacks. Yet, they require careful monitoring to prevent over-drying. Each type of candy presents unique challenges. Understanding what works best can lead to some amazing results. Enjoy the journey of creating your own freeze-dried delights!
Tips for Storing and Enjoying Your Freeze Dried Candy
When it comes to storing your freeze-dried candy, air-tight containers are a must. These containers keep moisture out and help maintain the candy's crunch. Clear jars work well, as they allow you to see your colorful treats. Label each container with the type of candy and the date. This way, you can enjoy them fresh for months.
Enjoying your freeze-dried candy can be a delightful experience. Each piece has an intense flavor that bursts in your mouth. Try pairing them with yogurt or adding them to dessert recipes. You might notice that some flavors combine better than others. Don't hesitate to experiment. Sometimes, a mix of sweet and tart creates an unexpected delight. However, be cautious. Mixing too many varieties can lead to overwhelming flavors. Aim for balance, and remember, not every combination will be a winner.